CURING – WHAT YOU NEED TO KNOW
We receive more enquiries about curing than any other food smoking process. Whilst there’s plenty of advice out there, it can be a bit of a minefield so we thought we’d put together a quick guide to answer some of the questions that will inevitably arise when you tackle a curing project.
AN INTRODUCTION
Curing or salting really is the original form of ‘slow food’. A means of preserving fresh foods in the days before refrigeration, the action of salt or a salt brine on meat or fish draws out moisture by a process of osmosis, moisture which would otherwise provide a breeding ground for bacteria. Today, curing is the initial process in creating a cured smoked product such as smoked salmon or bacon. By reducing moisture content, not only is bacterial content arrested, but food flavours are intensified and adding other cure ingredients, further flavours can be introduced and locked in. Cold smoking provides the final seal and yet another layer of flavour.
Some cure preparations are quite rapid such as an overnight salting of a side of salmon, whilst others nurture flavour over days, weeks and even months like a traditional Iberico ham. For anything other than fresh meat or fish, which you might like to liven up with an infusion of natural cold smoke flavour, no curing is required, including cheeses, nuts, oils, butter, seeds, garlic, chillis.
Commercial curing is done on a vast scale and mostly using brine rather than the rather more labour intensive, small batch, salting process. You’ve probably noticed the white liquid which escapes from supermarket-bought bacon rashers when they’re introduced to a hot frying pan. This is the remains of the salt/water brine escaping from the meat under heat pressure. Not very appealing and a great reason to make your own home cured bacon.
The beauty of curing is that there are few hard and fast rules and plenty of scope for experimentation for the adventurous cook. But it is worth understanding the do’s and don’ts just to be sure your food is safe to eat!
WHICH SALT TYPE
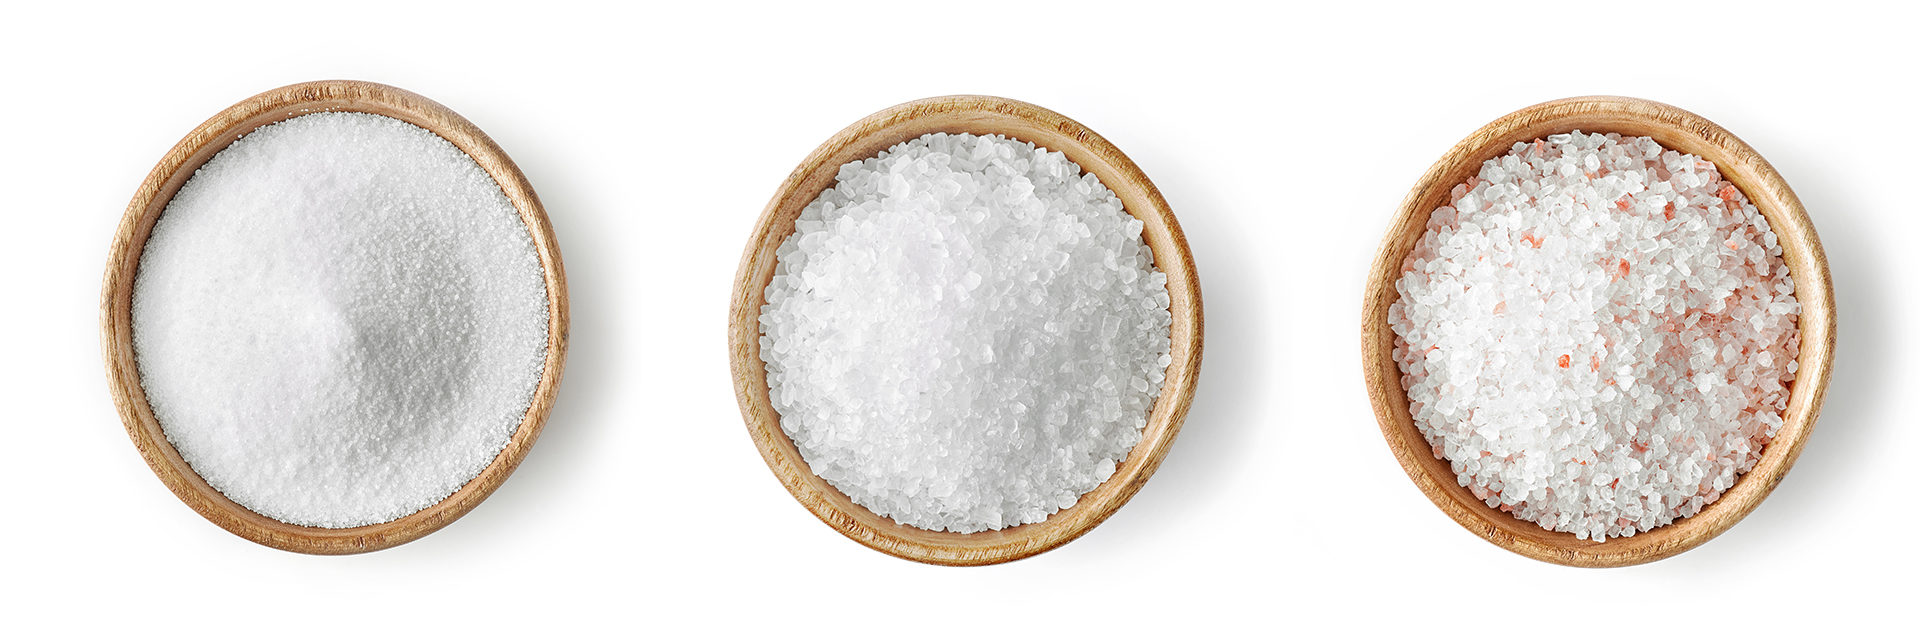
As a natural preservative, all salts are suitable for curing projects, but not all salts are created equal, so this could influence your choice. Rock or table salt are the least expensive, whilst sea salts and other speciality salts such as Himalayan Pink Salt contain additional trace minerals so could be said to be marginally more nutritious (though not actually proven) and their production requires less processing.
Table salt is a refined salt produced by flooding underground salt deposits with fresh water, extracting and evaporating the water to leave behind pure crystals. It is processed so that the trace minerals are removed to leave a pure white salt. Worth bearing in mind that anti-caking agents, usually synthetic chemical combinations, are often added to prevent the salt clumping and forming hard clusters, so worth looking for a natural anti-caking agent such as calcium carbonate.
Rock salt is technically speaking a Halite, a rock substance. It’s dug directly out of the earth and has a cube, crystalline structure containing minerals and other impurities. Because salt lowers the melting point of water, it is widely used in non food applications, most well known in gritting icy roads to melt the ice as well as in the manufacture of ice cream. But there are food grade forms which can be used for making brines and for general seasoning. Its usually cheaper than other types of salt.
Sea salt is produced by evaporating seawater to leave salt deposits. This can be a natural process in salt flats where the water is evaporated or using man-made evaporation pans. Dirt and sand is removed and the salt may be ‘sun-dried’ and ‘hand harvested’ so the processing is minimal. Sea salt retains certain trace minerals including magnesium and potassium so is thought to be healthier than table salt.
Himalayan Pink Salt with it’s lovely pink hue is mined from the Salt Range mountains in the Punjab region of Pakistan. It’s actually a natural rock salt, formed by ancient salt deposits. The pink colour is due to the specific mineral content. In fact, Himalayan salt, reputedly contains over 80 different trace minerals including potassium, calcium, magnesium, iodine, iron, and zinc and as a result is seen as being more nutritious than other salts, though this mineral content is marginal.
Black Lava Salt – this is a sea salt blended with volcanic charcoal to aid digestion, designed more as a finishing salt (because it’s pretty costly). Not a common curing salt and one of many ‘designer’ varieties which could be interesting!
WHICH SALT CONSISTENCY – Fine or Crystals
There’s little advice on which consistency of salt to use in curing. Fine grained salts are more readily absorbed, so will have a quicker curing action. They create an even coating which leads to them dissolving more consistently. However, a crystal salt has a slower but more thorough, penetrating action. Some advise using sea salt with fish as a more complementary natural partner but for bigger projects, for example if you are packing a large pork joint in salt, just go for the cheapest you can buy. Both will ultimately do the job of curing, so it’s really a matter of choice.
CURING AGENTS – What are nitrates?
You’ll hear a lot of discussion about Prague Powder and Saltpetre (Sodium Nitrite and Potassium Nitrate) and their use in curing foods. (Saltpetre’s other uses are for making explosives and fertilizers, so it is classed as a dangerous substance!) These compounds were traditionally mixed with salt to introduce nitrates and nitrites, known to kill bacteria. Salt alone will just arrest the growth, whereas nitrates will eliminate them. Nitrates also retain and promote the meat’s natural ‘pinkness’ so are widely used commercially.
There is some discussion about the safety of these chemicals and the latest guidelines do limit their use. The ratio of Prague Powder in a salt mix has always been a bit of a mystery to us and advice does differ, though the concentration of sodium nitrite to salt is as high as 6% for Prague Powder #1 and in the #2 version, the 6% is a combination of sodium nitrite and sodium nitrate, so much higher levels all round. We’ve tended to avoid them and our go-to curing agent is a pre-mixed curing salt with maximum permitted levels of nitrite/nitrate content at a ratio of 1.2% of the salt mix overall. This gives us reassurance that bacterial content is being dealt with whilst also keeping chemical content to a minimum.
Worth noting, both Sodium Nitrite and Potassium Nitrate are naturally occurring substances found in root vegetables, leafy greens, fruits and grains. Basically, anything that grows in the ground draws sodium nitrate out of the soil. When we consume these foods, the sodium nitrate present is converted to sodium nitrite and it is this mineral which possesses the anti-microbial properties which make it an effective curing agent and preservative.
DO I NEED TO USE NITRATES?
If your food will be eaten ‘raw’ after the curing, drying and smoking process such as smoked salmon, then curing agents should be used in your cure mix. However, for foods which are cooked prior to eating such as bacon, there is scope to skip the nitrites. We have made chemical free bacon, so no curing agents were involved, just a salt, sugar and spice mix. The only visible difference is that the meat looked a little grey. We’ve become very used to seeing appealingly pink bacon and hams on the supermarket shelves, so the greyness can be off-putting. But it still tasted great and we are still alive! That said, we would always use curing agents for other fresh foods.
WHAT TO ADD TO YOUR CURE MIX
Sugar Also a preservative, sugar is added to most salt cures. The amount is largely a matter of taste depending on what level of ‘sweet cure’ you want to achieve, and what texture you prefer – the more sugar, the firmer the consistency. Any sugar will work. Unrefined moscovado sugar will give a more caramel flavour. Molasses and black treacle can be added for even more caramel tones and deeper colouring.
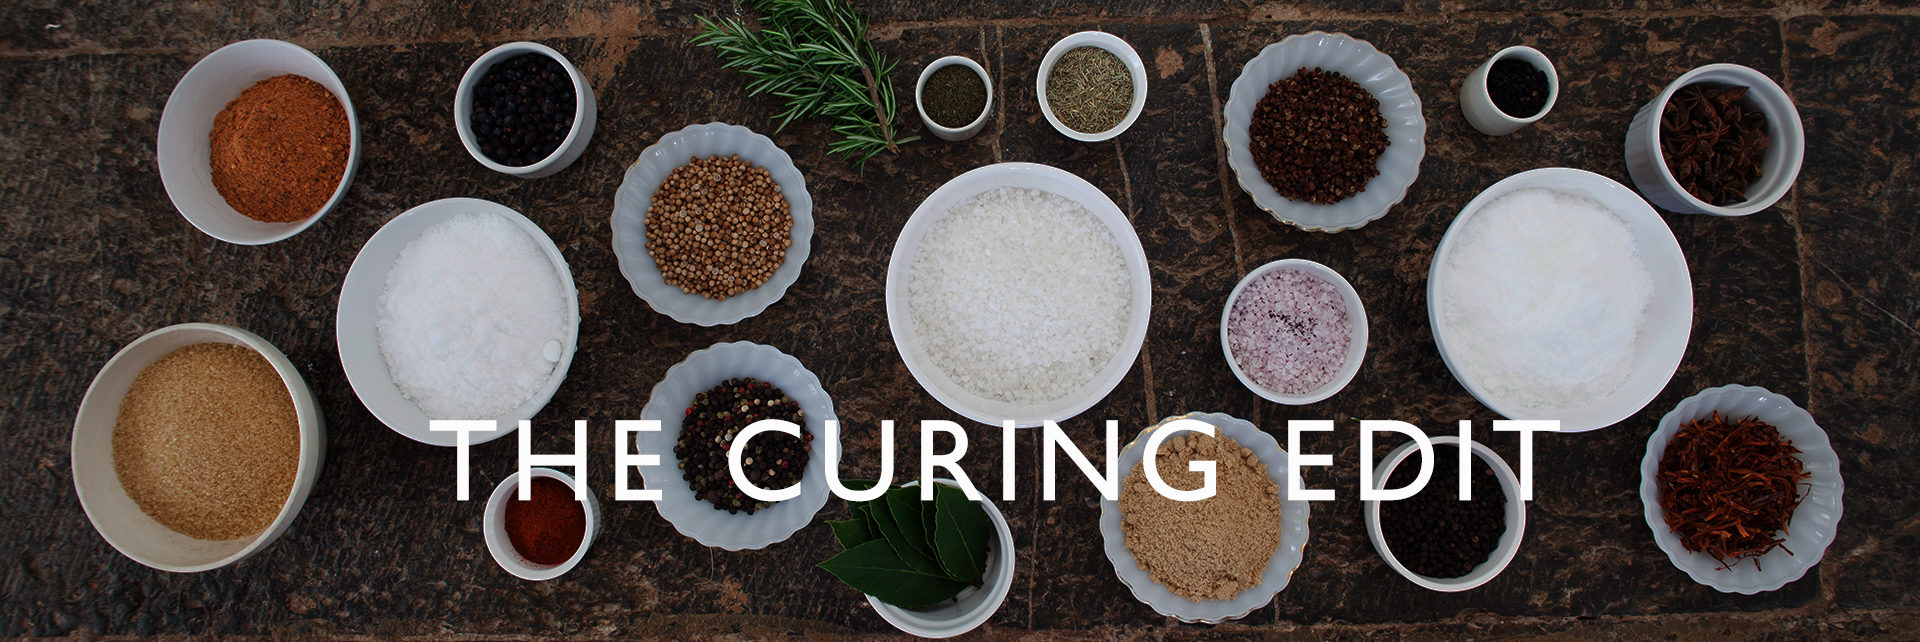
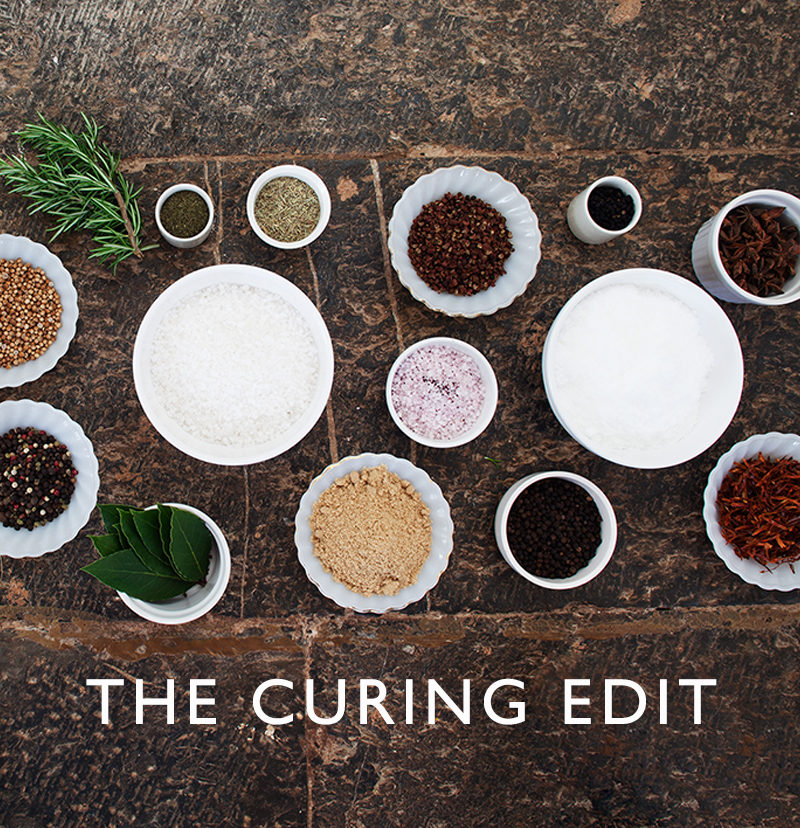
Herbs & Spices – Aromatics Any combination of fresh or dried herbs and spices can be used as part of a cure mix. Whilst bringing their particular flavours to a cure mix, many ingredients also contribute to the salting process from natural salt content such as seaweed, horseradish, dill, parsley, nettles and burdock leaves. Surprisingly, certain spices also have antiseptic properties and these are useful additions to a cure mix for fresh foods whilst also imparting particular flavours – rosemary, ginger, aniseed, cinnamon, cloves, garlic, chilli peppers, white mustard seed and juniper all fall into this category.
You might want a bit of spicy heat in your cure mix, by adding chilli powder or flakes, harissa or paprika. Really, anything goes and this is where curing can really get interesting as there are so many options.
Alcohol Wine, whisky, gin, brandy or rum can all be used to add extra flavours to curing meats and fish. Not only will they impart flavour, but they can also boost the preservative effect. Citrus juice and vinegar also bring additional preservative value.
Other Ingredients
Beetroot – can be grated into your cure mix to create a distinctive red halo. It’s used widely with salmon and it also imparts additional flavour.
Horseraddish – for an altogether stronger flavour, a little grated horseradish will add a lovely kick. Wasabi has a similar effect.
Molasses – used widely for pork, this boosts caramel flavour and promotes a lovely dark colour whilst also contributing to the preservation process. A bi-product of sugar manufacture, molasses is a thick, brown syrup left over after sugar crystals are extracted. It’s a powerful raw sugar source.
DRY OR WET CURE?
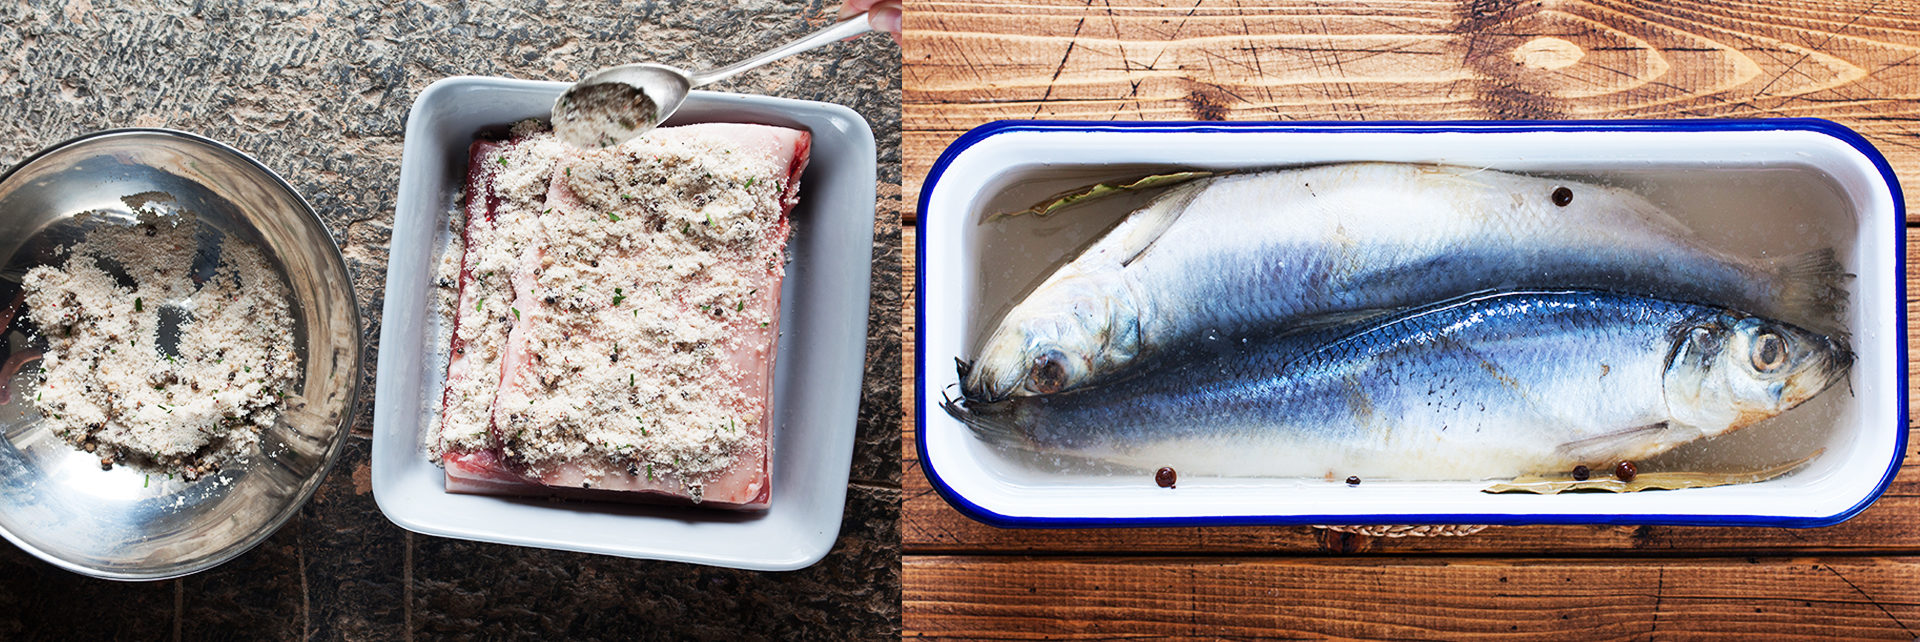
Using a dry cure method or dissolving salt in water to create a brine into which food is submerged are both valid curing methods. For large cuts of meat a brine has a deeper penetrating effect, working deep into the meat tissues. Brining is also useful when you need to cure larger volumes of food, perhaps a bountiful catch of fish which can be submerged in a bucket of brine far more easily than dry curing. For cuts and fillets a dry cure has a slower more nurturing, flavour enhancing effect.
HOW MUCH TO USE Proportion of cure to meat
You don’t need as much as you think… Our ready mix curing salts recommend a ratio of 60g of cure mix to 1kg of meat. This really doesn’t seem like enough, but it’s surprising how powerful the mix actually is. We then add at least 10% of sugar to the cure amount, plus additional herbs and spices.
For a brine mixture you will need around 500g of salt to for 2 litres of water. These ratios do vary according to different sources, however.
APPLYING A DRY CURE
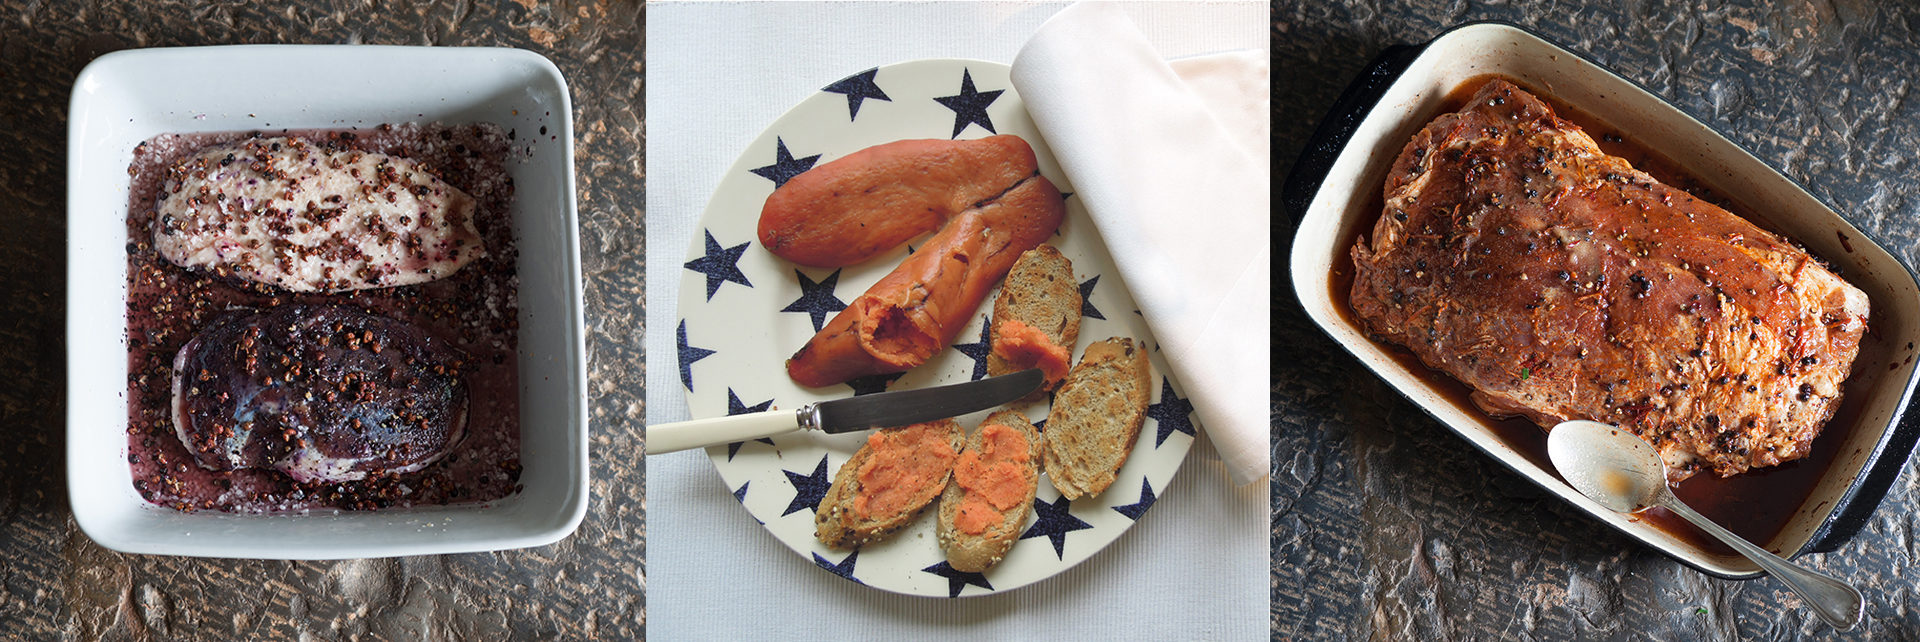
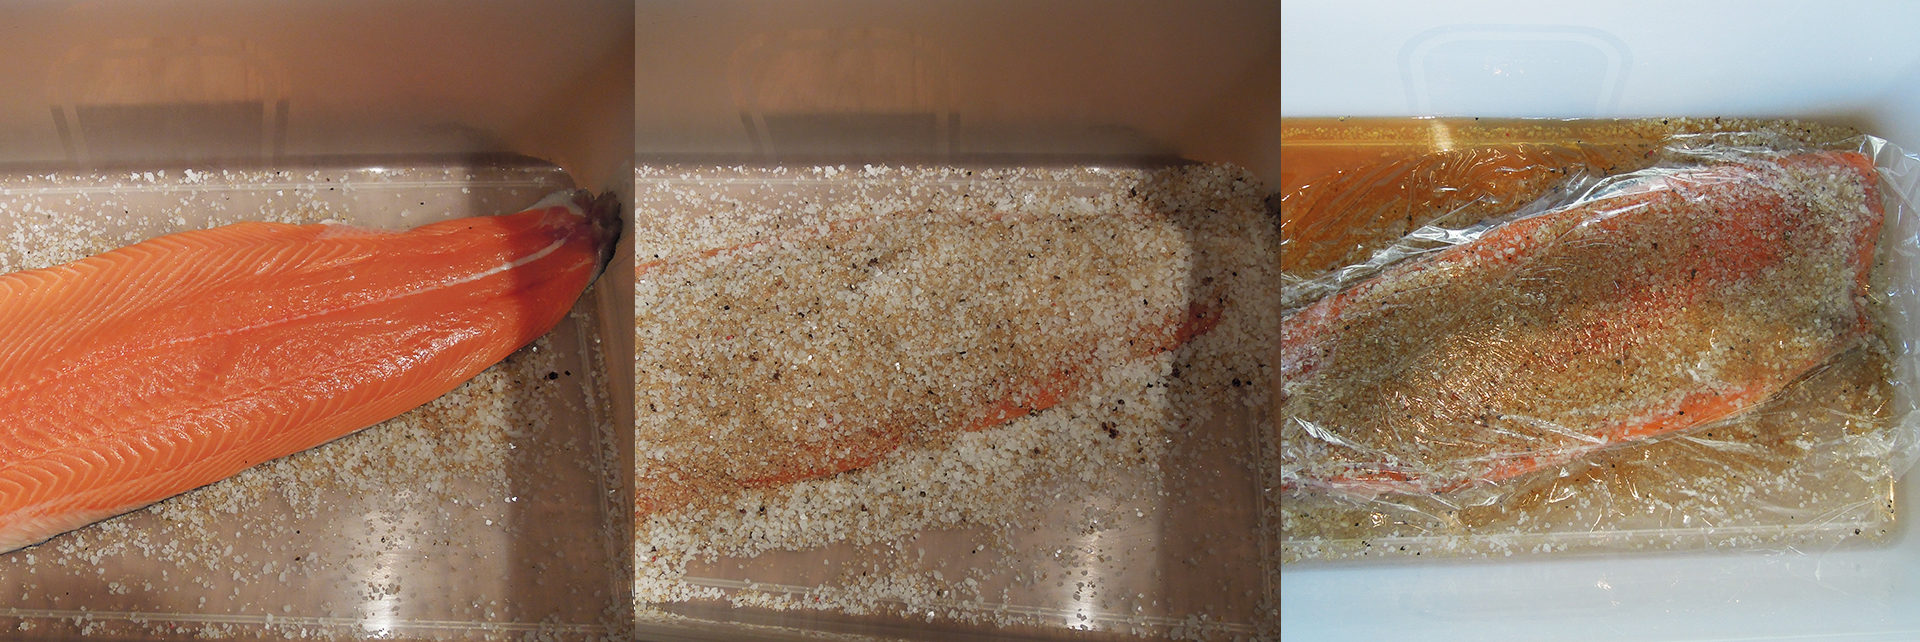
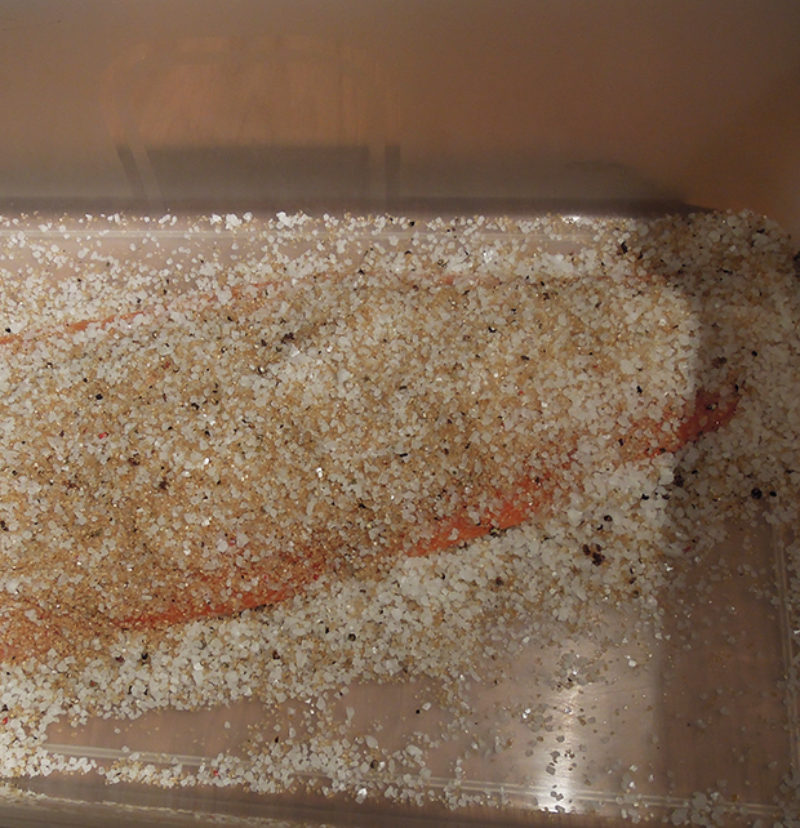
Mix your cure ingredients and sprinkle a layer on the base of your curing container. Porcelain or plastic containers are great to use, so long as you can fit them in your fridge. Place the meat onto the base layer and sprinkle more cure mix onto every surface, including the sides, rubbing in gently.
THE CURE EFFECT
Within just a few hours of adding your cure mix to foods, the salt starts to do its work and liquid will begin to leach out. Your food will darken in colour, shrink in size and firm up in texture. All of these are what you want. After each 24 hour period, drain away the liquid and add more cure mix, unless you are using the hybrid dry/wet cure method, where the salty liquid drawn out of the food becomes a wet brine in which the food becomes submerged.
HOW LONG TO CURE
The longer you cure, the firmer the consistency of your food and the less ‘raw’ it will be. The aim is to stabilise the food, having removed bacteria. Smaller cuts or fillets require less time than a large joint of pork or venison. A fish fillet will just need to be cured overnight in the fridge, whilst a bacon joint needs 4 to 5 days with cure reapplied daily.
RINSING
Whether you use a dry or wet cure method, rinsing is a key stage in the process. This does seem counter-intuitive, particularly when dry curing as you’ve just spent some time trying to remove moisture. In fact, we advise a short period of complete submersion in clean water. This helps to remove excess salt residues, you don’t want to just taste salt, you’ve simply used this compound to stabilise the food.
DRYING
An important stage in the curing and smoking is between the two – drying. Once the cure has been completely rinsed off, dry thoroughly with kitchen towel or clean drying cloths. Then place the meat or fish on an open rack and leave in a cool place where air can circulate. The bottom of the fridge is an ideal location. This air drying stage helps further develop the meat flavour whilst also creating a natural external barrier or pellicule, a slightly sticky surface which helps with the absorption of cold smoke. Even if you don’t plan to include a final cold smoking stage, the formation of the pellicule is an important sealing process.
SHELF LIFE
Curing alone will virtually double the shelf life of fresh foods from around 10 days to 2 weeks. Vacuum packing, by further eliminating air contact, will also extend shelf life. If you plan to do lots of curing and cold smoking we’d recommend investing in a Vacuum packing machine and there are household versions which are pretty cost effective.
RECIPES
There are various cold smoking recipes in our RECIPES section. We find that many of our customers whilst sticking to basic guidelines, develop their own particular approach and would encourage you to do that too. For now here are a couple of classic cure recipes for the most commonly home cured and smoked foods, bacon and salmon.
Classic Bacon Cure Recipe
- Ready Mix Curing Salts
- Demerara Sugar
- Fresh bay leaves
- Mixed peppercorns
- Juniper berries
Use 60g of curing salts per 1kg of meat. To this add 30g sugar (or min 10g). Cut the bayleaves into strips and crush the peppercorns and juniper berries. Mix and take ¾ of the mix and rub into your meat on all sides. On day 2, drain off any liquid and add another sprinkling of the cure mix. Continue for 2 further days.
Classic Smoked Salmon Cure Recipe
- 500g coarse sea salt
- 100g soft brown sugar
- Star anise
- Coriander
- Dill
Mix together the salt and sugar. Lightly crush the whole spices and mix with the dill. Blend all together. This is enough for a whole salmon cut into two sides. Rub gently into all surfaces and allow to cure overnight in the fridge.
We hope your curing projects go well. Feel free to share any tips and techniques you glean along your curing and smoking journey. Email us on info@hotsmoked.co.uk or WhatsApp 07973 739053.

